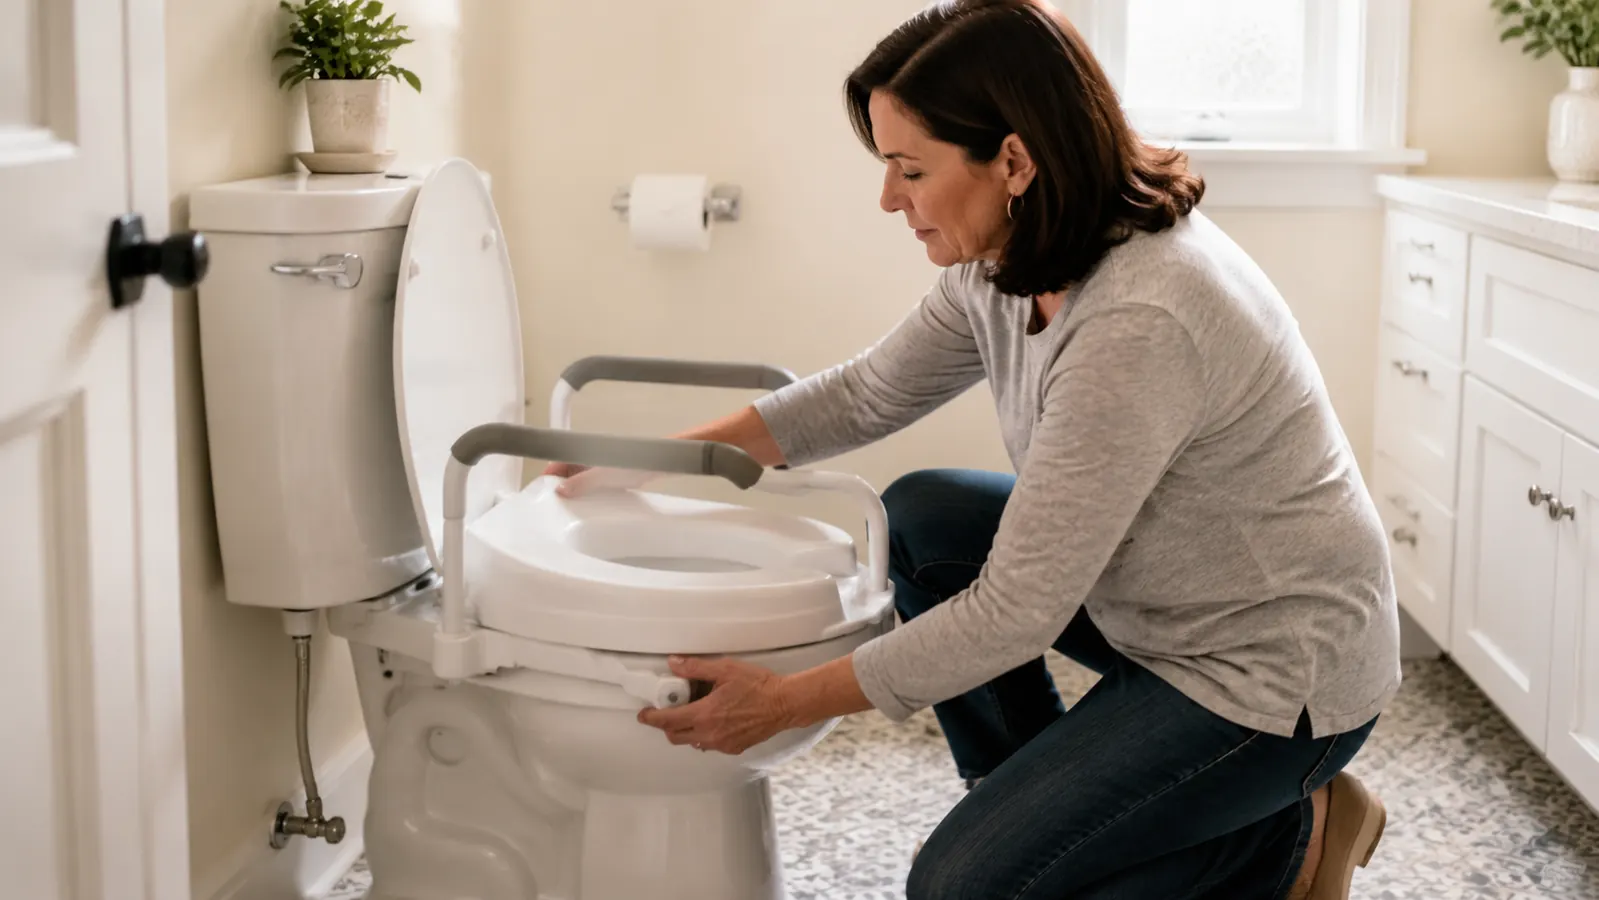
My mother came home from hip-replacement surgery on a Thursday. The discharge nurse handed us a printed sheet listing the equipment she would need before she could use the bathroom alone. Raised toilet seat with arms was third on the list, right after the walker and the grab bar. I had the Drive Medical 2-in-1 raised toilet seat ordered and delivered before she got home. What I did not have was any clear instruction on how to put the thing on correctly, whether it would fit our toilet, or how to know if it was actually locked down before I let her sit on it.
That is what this guide is for. I have installed this particular seat in two bathrooms now, and I have seen three other family members go through the same confused fifteen minutes with a new raised toilet seat. Most of the confusion comes from four things: not knowing your toilet shape beforehand, not understanding how the clamp mechanism actually works, skipping the leveling check, and forgetting to tighten the armrests before the first use. Get those four things right and the whole install takes less than ten minutes. Get them wrong and the seat rocks, the arms wobble, and your parent does not feel safe using it.
The Drive Medical 2-in-1 is the seat this guide is built around.
It fits both elongated and round toilets, the locking brackets are tool-free, the padded arms come off for side-transfer if needed, and at this price it is the easiest first purchase to make when your parent comes home from surgery or a fall.
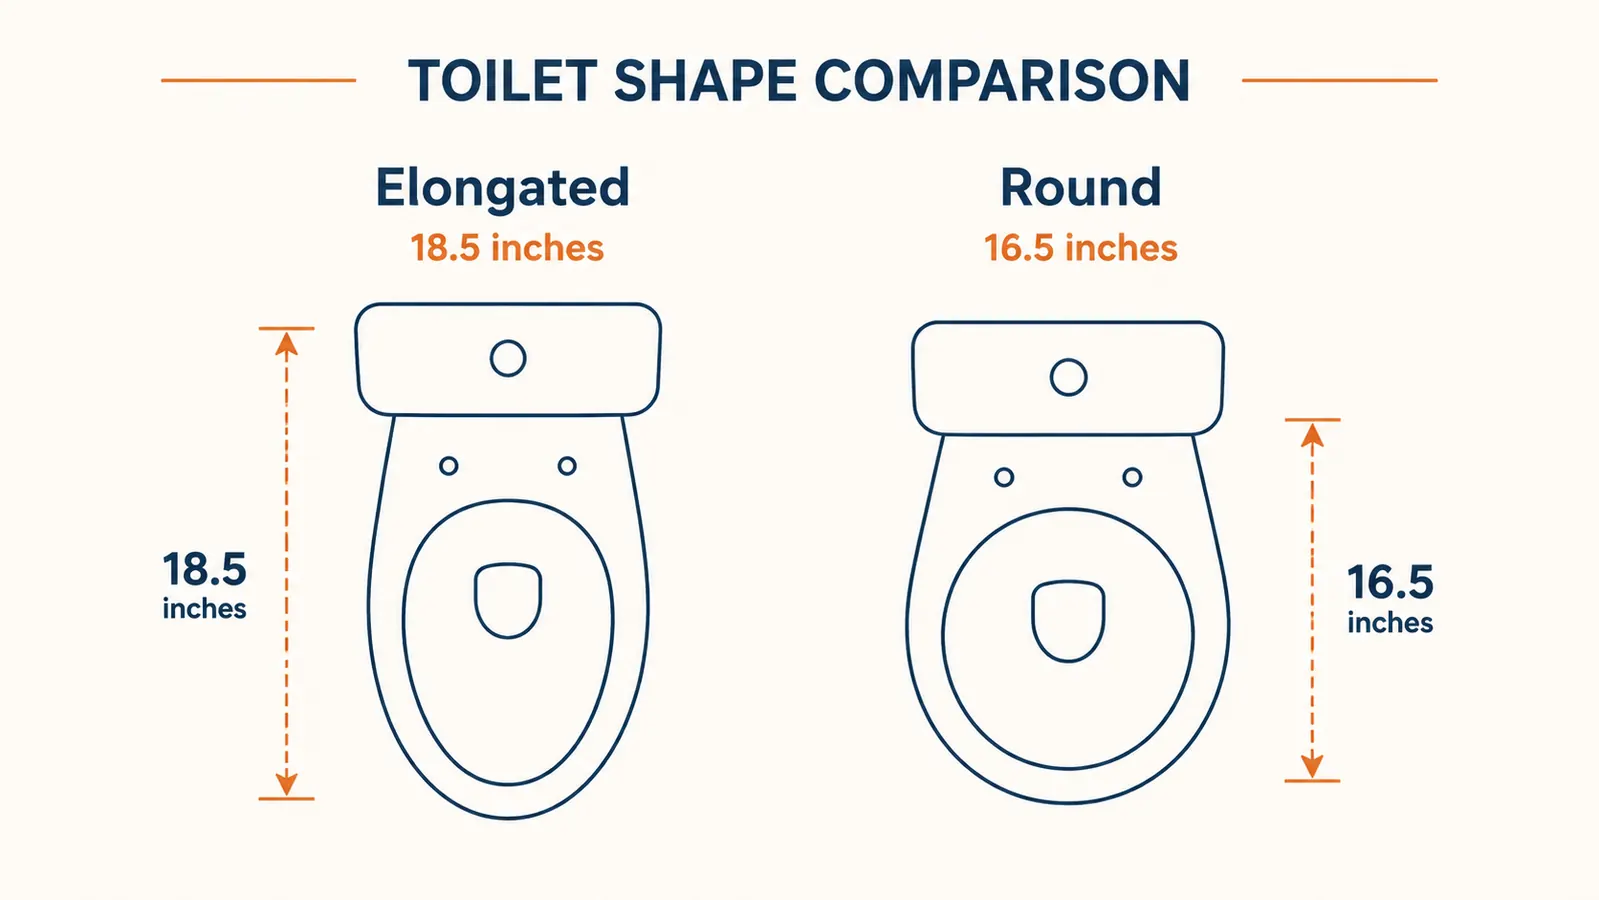
Amazon Check Today's Price on Amazon →Step 1: Identify Your Toilet Shape Before You Open the Box
This is the step everyone skips and then regrets. Toilets in the United States come in two bowl shapes: elongated and round. Elongated bowls measure roughly 18.5 inches from the front of the bowl to the back bolt holes. Round bowls measure roughly 16.5 inches across that same distance. If you are not sure which you have, get a tape measure and check before you do anything else.
The Drive Medical 2-in-1 is listed as fitting standard toilets, which in practice means round bowls and most elongated bowls. It will sit slightly back on a full elongated bowl, but the locking bracket still secures properly. Where it does not work well is on very low-profile or unusually shaped toilets, or on toilets with a French curve on the rim front. If your toilet has a sculpted or decorative rim, dry-fit the seat before committing. Set it on top, press it back to where the brackets sit under the rim, and check whether both sides contact the porcelain evenly. If one side floats, that toilet shape may need a different model.
One more thing on this step: check the toilet's height before you decide on a raised seat. Standard toilets are 14 to 15 inches from floor to the top of the rim. Comfort-height or ADA toilets are already 17 to 19 inches. If your parent's toilet is already comfort-height and their surgeon said they need 17-inch seat height after hip surgery, a three-inch raised seat may put them above the 90-degree hip angle their physical therapist specified. Measure first. Most hip-surgery discharge instructions specify a minimum seat height. Match the raised seat height to that number.
Step 2: Remove the Original Toilet Seat Completely
A raised toilet seat does not go over the existing seat. It replaces it. This is the part that surprises a lot of people. You need to remove the original seat before installing the raised seat, or it will wobble and the clamp will not seat properly against the porcelain rim.
To remove the original seat, look at the back of the toilet bowl for two plastic covers, one on each side near where the seat is hinged. Pop those covers open with a flathead screwdriver or your fingernail. You will see a plastic nut underneath. Hold the nut still with one hand and use a screwdriver to turn the bolt on top counterclockwise. On older toilets the bolt or nut may be corroded. If it will not budge, try a squirt of WD-40 and give it a few minutes. Once both bolts are loose, lift the seat and hinge assembly straight up off the two posts and set it aside. Clean the rim surface with a damp cloth before you put the raised seat on. Dried mineral deposits or soap scum on the rim will prevent the locking bracket from getting a clean grip.
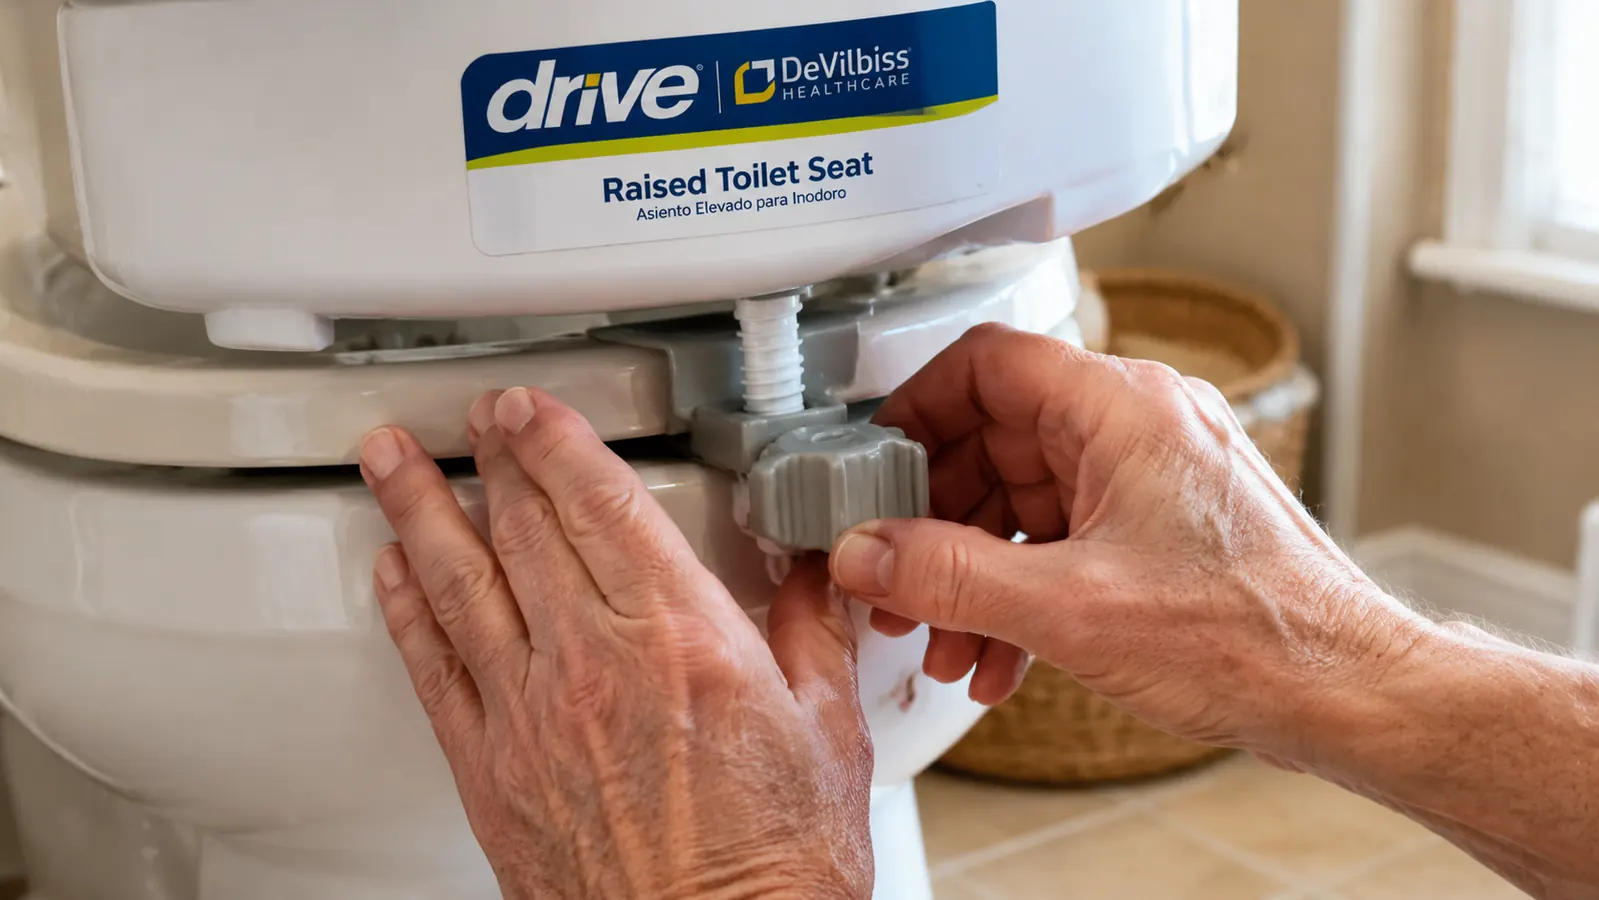
Step 3: Set the Seat and Engage the Clamp Mechanism
The Drive Medical 2-in-1 uses a tool-free locking bracket that clamps under the rim of the toilet bowl. Here is how the mechanism works: on each side of the seat, there is a plastic wing that swings down and inward when you turn a knob or lever at the side of the frame. When these wings engage, they press against the underside of the toilet rim, clamping the seat in place from below.
To install, center the seat on the bowl with the open end at the front. The bracket feet should be resting on the back of the toilet rim on both sides. Now reach under each side and locate the adjustment knob, usually a large plastic thumb-turn. Rotate it clockwise. As you turn, you will feel the clamping wing extend downward and press against the underside of the rim. Keep turning until you feel resistance. The seat should not be able to slide forward or lift off the bowl. Test it by gripping the front of the seat with both hands and trying to lift it straight up. It should not move. If it budges, keep tightening.
A common mistake here is tightening only one side fully before starting the other. Tighten both sides a little at a time, alternating, the same way you would tighten lug nuts on a wheel. This keeps even pressure on both sides of the rim and prevents the seat from canting to one side.

Step 4: Check Level and Confirm No Rocking
Before you move on to the arms, spend sixty seconds on the level check. A raised toilet seat that rocks even slightly feels unstable to a person who is already scared of falling. Stand in front of the toilet, place both hands on the front corners of the raised seat, and push down on the left, then the right. You should feel no movement on either side. Then press down in the center front and in the center back. Again, nothing should move.
If one corner is low, the toilet rim is likely uneven or your brackets are not both fully engaged. Back off both knobs a half turn, reposition the seat so it sits flush on all four contact points, then re-tighten gradually and evenly. Porcelain toilet rims are not perfectly flat. Some have a slight crown or warp from age. If you cannot eliminate all rocking through bracket adjustment alone, a small strip of non-slip foam tape applied to the bracket feet can fill the gap without changing how the lock engages.
A raised toilet seat that rocks even slightly feels unstable to a person who is already scared of falling. Sixty seconds on the level check is worth every second.
Step 5: Tighten the Armrests and Do the Weight Test Before Your Parent Sits
The armrests on the Drive Medical 2-in-1 attach to the seat frame via their own set of locking pins or wing bolts, depending on the production version you receive. Check both arms by gripping each one and trying to rock it side to side. If there is any play, look for the tightening point where the arm meets the frame and snug it down. Arms that wobble are more frightening to the person sitting than a loose seat, because they are the thing your parent reaches for first when they start to stand.
The arms on this model are padded, which is a real advantage for older adults who push hard with their palms. The padding does compress over time. After several months of daily use, check whether the foam has flattened enough that the plastic core underneath is starting to be felt. That is the point where comfort drops off and you should consider a replacement.
Once both arms are tight and the seat is not rocking, do the weight test before anyone else sits on it. Sit on it yourself, or if you weigh significantly more than your parent and are worried about overstressing the bracket, press down on the seat with your full body weight using your hands on the armrests. The weight limit on the Drive Medical 2-in-1 is 300 pounds. That should handle most users. The point of the weight test is not to break the seat but to confirm the bracket does not shift or the seat does not tilt when real force is applied. If something moves during the weight test, it will move when your parent pushes down to stand. Find the problem now, not later.
After the weight test, do one supervised practice run with your parent before leaving them alone. Stand beside them, not behind them, and let them lower themselves onto the seat using the armrests. Talk through what to do: scoot forward slightly to the edge of the seat before trying to stand, press straight down on both armrests together to push up, and keep the walker or grab bar within reach. The physical therapist probably said all of this at discharge, but hearing it once in a clinical setting and practicing it in the actual bathroom where it needs to happen are different things.
What Else Helps
A raised toilet seat handles the height problem. It does not handle the grip problem. If your parent's bathroom does not have a wall-mounted grab bar beside the toilet, that is the next purchase to consider. The raised seat gets them to the right height. The grab bar gives them something solid to grab during the last few inches of descent and the first push upward. Drive Medical and Moen both make straight grab bars that bolt into studs and support 250 to 300 pounds. Suction-cup grab bars exist and are sold in every pharmacy, but I would not stake anyone's safety on one. If you cannot anchor into a stud, consult a handyman before using a suction mount for a full-weight transfer.
Non-slip floor mats in front of the toilet are also worth noting. After hip surgery or any event that creates a fall risk, the floor in front of the toilet is a problem spot because it often gets wet and the person is rushing. A rubber-backed bath mat that extends 18 inches in front of the toilet catches most of the splash and gives a non-slip surface for the feet when standing. Replace it when the rubber backing starts to peel or lose grip.
If your parent needs even more support and is having difficulty with the standard armrest height on the raised seat, a toilet safety frame is a separate piece of equipment that straddles the toilet and provides handles at a fully adjustable height on both sides. It is larger and more visible than the raised seat alone, but it can be the right answer for someone who has weak grip strength or very limited arm extension. You can pair it with the raised seat if the height and support requirements both need addressing.
Already have the Drive Medical seat and just needed the installation walkthrough?
If you are still deciding whether this is the right model, the full three-year review covers how the bracket holds up, whether the padding lasts, and what to expect when one family member who weighs 210 pounds uses it daily. Worth reading before you order.
Amazon Check Today's Price on Amazon →