
My mother had a fall getting out of the bathtub in November 2023. She caught herself on the towel bar, which pulled partially out of the wall, and sat down hard on the floor. Nothing broke that day, but we both knew how close it came. The physical therapist who visited us two weeks later looked at the bathroom, looked at me, and said, "You need a transfer bench before she tries to bathe again." I had never heard the term. By the time I had done twenty minutes of reading and ordered the Drive Medical Tub Transfer Bench, I understood exactly why she said it. Stepping over a tub wall is one of the single most dangerous movements an older person makes. The transfer bench removes that step completely.
Setting one up correctly takes about ten minutes if you go in knowing what to do. Setting it up wrong, though, means it wobbles, the legs rust faster, and the person using it does not feel safe, which means they will not use it. This guide covers everything: measuring the tub, assembling the bench, placing the suction feet, adjusting leg heights, learning the slide-transfer technique, attaching a handheld shower, and keeping it clean. If you have the bench in the box right now, read through once, then come back and work through each step.
The bench that made this guide possible is under $55 on Amazon right now.
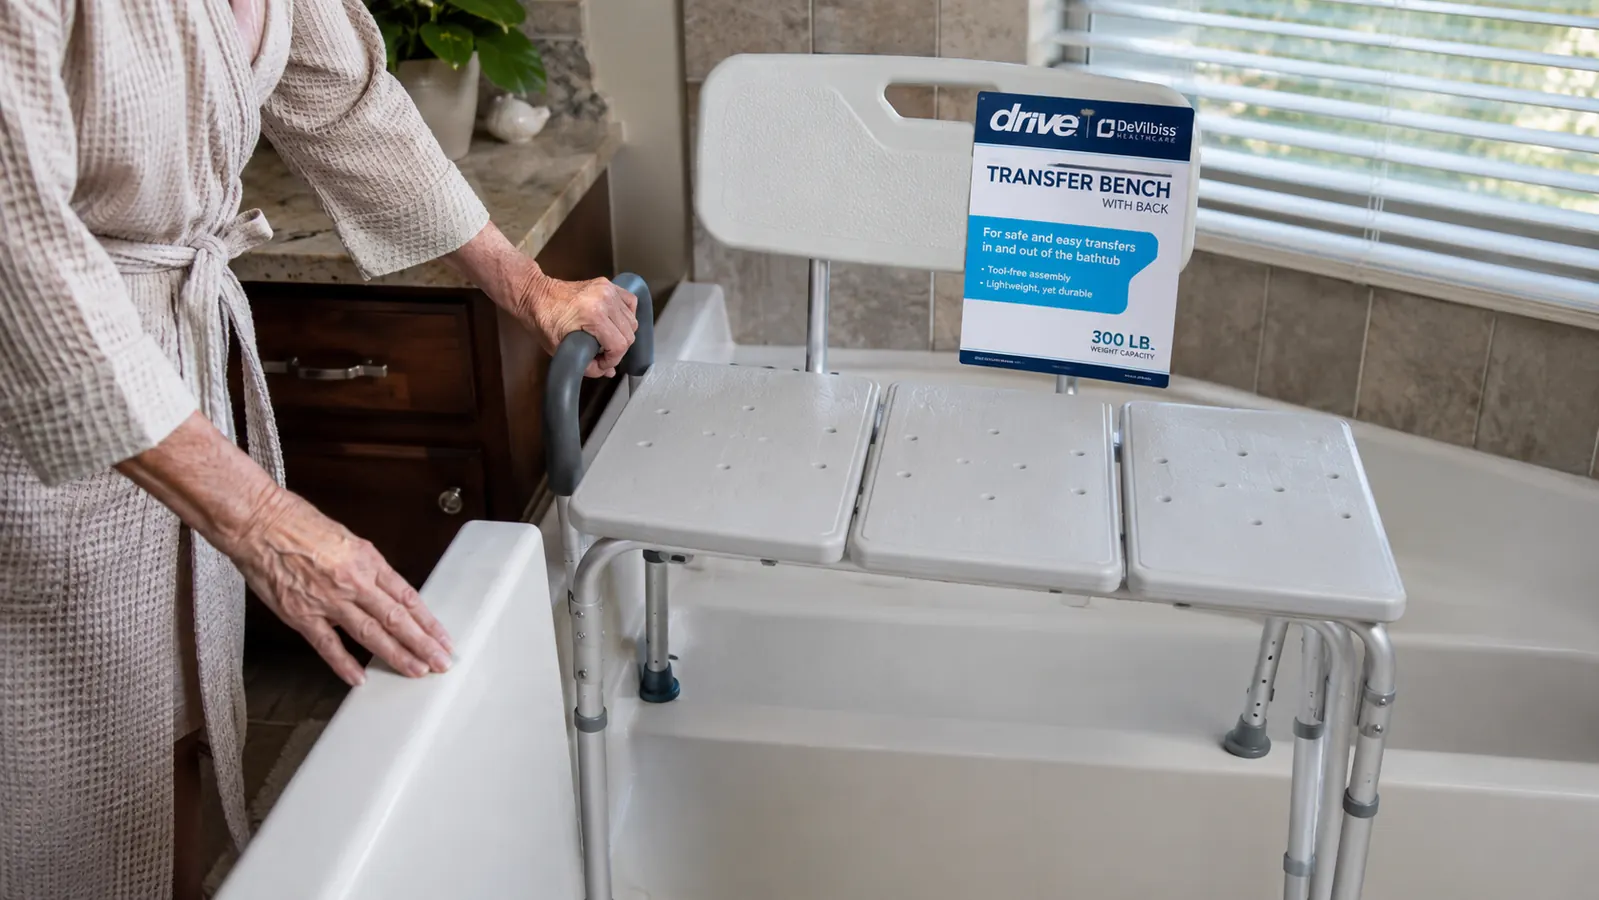
The Drive Medical Tub Transfer Bench has a 350-pound weight capacity, height-adjustable legs, a comfortable backrest, and more than 32,000 reviews. It is the one I installed for my mother and the one I recommend without hesitation.
Amazon Check Today's Price on Amazon →Step 1: Measure Your Tub Before You Start
Before you assemble anything, spend three minutes with a tape measure. You need two numbers: the inside width of your tub at the rim, and the height of the tub wall from the bathroom floor to the top of the rim. The Drive Medical bench fits standard residential tubs (the inside width of most American tubs runs between 14 and 18 inches at the narrower end). If your tub is a wide soaking tub or a corner tub, measure carefully, because you need the two inside legs to reach the tub floor with room left over to adjust upward.
Also note which direction your tub faucet is on. The bench seat has a small cutout on one end for the faucet side. You want the bench's opening to face the faucet, not the back wall. Write down: faucet is on the left, or faucet is on the right. You will use this when you orient the bench during assembly. Getting orientation wrong is the most common setup mistake I see when people describe their bench wobbling or feeling awkward to slide onto.
Step 2: Assemble the Bench (This Takes About Ten Minutes)
The Drive Medical bench ships partially assembled. You are adding the legs and the backrest. The legs come in two pairs: inside legs (shorter, go into the tub) and outside legs (taller, stand on the bathroom floor). The leg pairs are labeled. Start with the inside legs. Push each leg into its socket on the underside of the seat until you hear it click. Then insert each outside leg the same way. Do not over-torque the locking buttons; push until they seat, then move on.
The backrest attaches with two bolts and a wing nut on each side. Position it so the backrest curves toward the person sitting down, not away from them. I have seen it installed backwards twice, both times by well-meaning family members in a hurry. When it is backwards, the person sitting leans into a hard edge instead of a curved support. Once the backrest is on, lift the whole bench and set it near the tub without placing it yet. Before you do anything else, hand-tighten every connection and give it a firm shake. Nothing should move.
Step 3: Place the Bench and Position the Suction Feet
Each leg ends in a rubber suction foot. These are not decorative. They create friction with the tub floor and the bathroom floor tile and are a meaningful part of why the bench stays put. Place the bench so the two inside legs sit flat on the tub floor and the two outside legs sit flat on the bathroom floor. The bench seat should straddle the tub wall, with roughly half the seat over the tub and half outside. Make sure every suction foot is in full contact with the surface. If one foot is rocking because of a textured tub floor or uneven tile grout, adjust the leg height slightly until all four feet are making contact.
Press each suction foot down with your hand before the first use. Some tub floors have a non-slip texture that limits suction; on those surfaces the rubber foot is working by grip rather than vacuum, which is still effective, but press firmly. On smooth tub floors you will feel the cup seal. Do not place the bench on a bath mat. A bath mat shifts and compresses, and it will make the bench feel unstable. If you have a bath mat in the tub, remove it.

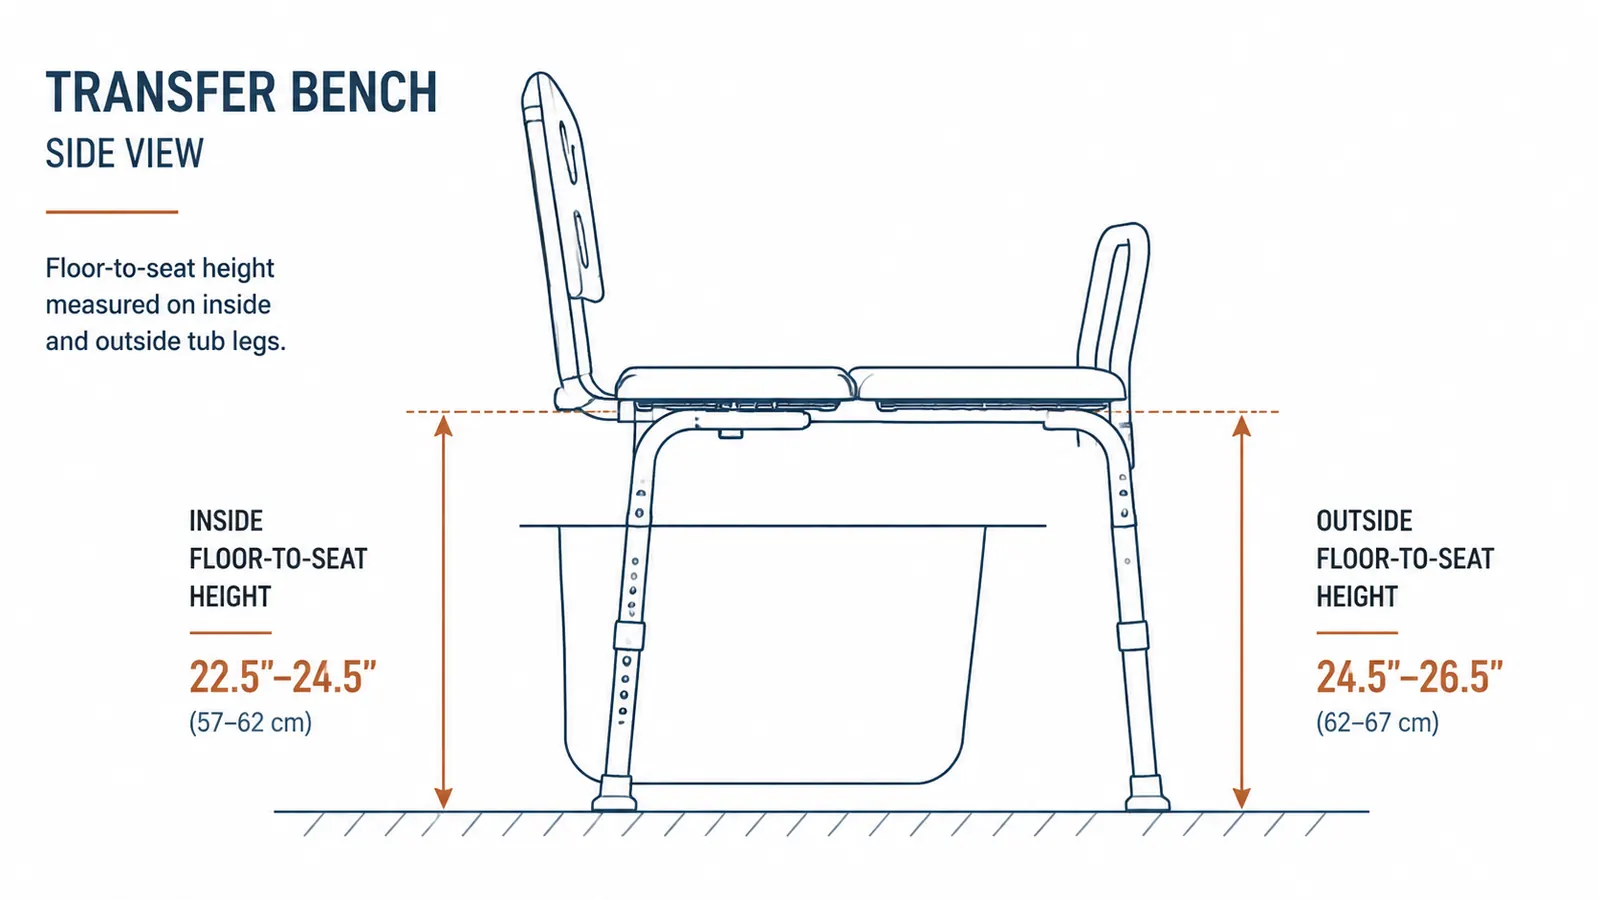
Step 4: Adjust the Leg Height So the Seat Is Level
This is the step most people skip, and it is the most important one. The bench seat needs to be level, or very close to it. Because the outside legs are standing on the bathroom floor and the inside legs are sitting on the tub floor (which is lower), the inside and outside legs will be set to different heights. The Drive Medical bench allows you to adjust each leg independently by pressing the locking button, sliding the leg to the desired length, and releasing. The height range on this bench covers most standard tubs.
To find the right height: set the outside legs first. The seat height should match roughly the height of the person's knee when they are standing. This makes sitting down a controlled lowering movement rather than a drop. My mother is 5 feet 2 inches tall, and I set the outside-leg seat height to about 17 inches from the floor. Then adjust the inside legs until the seat surface is level. You can check level with a small torpedo level if you want to be precise, but sitting on it yourself and noting whether you feel any tilt is usually enough. A tilted seat causes the person to slide toward one end, which is unsettling and fatiguing over a full bath.
Step 5: Practice the Slide-Transfer Technique Before the First Real Bath
The slide transfer is the whole point of the bench. Instead of lifting one leg over the tub wall, the person sits on the outside half of the bench seat, then scoots sideways across the seat and into the tub, keeping their weight centered and both hands on the seat or a grab bar the entire time. It sounds simple, and it is, but it feels foreign the first two or three times, especially for someone who has been stepping over a tub wall their whole life.
Practice it dry the first time, meaning fully clothed, no water running. Have your parent sit on the outside of the bench seat. Their feet should be flat on the floor. Walk them through the movement verbally: hands on the seat, shift your weight slightly to your left hand, lift your right foot into the tub, then slide your hips across the seat. Feet follow last. Reverse to exit: hands on seat, slide hips toward the outside, lift one foot out, then the other, stand. Do this two or three times without any water or pressure. Once it feels routine, you are ready for a real bath. Do not skip this practice session. The first time a person does anything unfamiliar in a wet bathroom is the wrong time to figure it out.
What Else Helps Make Bath Time Safer
A transfer bench does most of the heavy lifting, but a few additions make the whole setup significantly more reliable. First, a grab bar mounted to the wall at tub height, within arm's reach of where the person sits on the bench. The Drive Medical bench does not include a grab bar, and you want a permanent wall-mounted one, not a suction-cup model. A suction-cup grab bar can pull free under load. Have a handyman or contractor drill a real wall mount. It takes twenty minutes and costs about $40 in parts.
Second, a handheld showerhead. This is not optional if the person using the bench cannot easily turn and face a fixed showerhead. A handheld unit connects to the existing shower arm (no plumbing required, just a wrench and some plumber's tape) and gives the person control of where the water goes while seated. My mother uses a simple slide-bar model so she can adjust the height herself. It cost about $35 installed. Third, a long-handle bath sponge. Reaching the lower legs and feet while seated is harder than it sounds. A 30-inch bath sponge with a non-slip grip lets the person wash independently without twisting. Independence is the whole goal.
The slide transfer removes the single most dangerous movement in an older person's daily routine. You are not working around the tub wall. You are making it irrelevant.
One more thing worth mentioning: the cleaning routine. Aluminum benches like this one do not rust, but the rubber suction feet and the plastic hardware can accumulate mildew in a humid bathroom. Wipe the seat and backrest down after each bath with a damp cloth. Once a week, lift the bench out of the tub and clean the suction feet and the underside of the frame with a mild soap and water solution. Let it dry standing up, not flat on the wet tub floor. This takes about five minutes and extends the life of the bench by years. I have had ours going on two years without a single part needing replacement.
If you want more background on how this bench compares to a standard shower chair, or why some families need a transfer bench and some do not, I have a longer piece at the link below. But if you already know this is the right tool and you just needed to know how to set it up, you have everything you need right here. Do the dry run. Level the legs. Grab bar on the wall. Handheld showerhead. That combination will take your parent from "I'm scared to take a bath" to "I did it by myself" in about one week.
Related: Drive Medical Transfer Bench Review: Two Years, Two Different Bathrooms and 10 Ways a Transfer Bench Prevents Bathroom Falls for Seniors.
If your parent is avoiding the bath because they are afraid of the tub wall, this bench is the fix.
The Drive Medical Tub Transfer Bench is the most purchased transfer bench on Amazon for good reason. At under $55, it is one of the highest-value safety purchases a caregiver can make. Check today's price and verify it ships to your address.
Amazon Check Today's Price on Amazon →